
Installation of Cassandra by DELL Crowbar
This is an installation and configuration guide for Apache Cassandra by using DELL Crowbar the Cloud Unboxer.
DELL Crowbar is an opensource framework that has plugins, called barclamps, used for installing and configuring software on physical machines. I have written the barclamp-cassandra for Apache Cassandra installation and configuration by means of Crowbar Barclamps. Let’s consider major steps for quick installation of Cassandra on your environment.
1. Crowbar ISO generation
First step is the ISO file generation that will contains all barclamps selected for this process. You can manage barclamps as sub modules for Crowbar and add/remove some of them. This ISO file will cache all packages and files necessary for barclamps.
In order to start building ISO file go to this page describing how to start this process and then add barclamp-cassandra as sub module by running the commands:
sudo apt-get install git
git clone https://github.com/shvid/barclamp-cassandra.git ~/crowbar/barclamps/cassandra
nano ~/crowbar/.gitmodules
Insert the text at the end of the ‘.gitmodules’ file:
[submodule "barclamps/cassandra"]
       path = barclamps/cassandra
       url = git clone https://github.com/shvid/barclamp-cassandra.git
After that you need to build ISO file containing barclamp-cassandra and all dependencies needed for it. Crowbar will automatically download packages and put them into ISO file.
cd ~/crowbar
./build_crowbar.sh ubuntu-12.04 --update-cache
Later you can run the previous command without “--update-cache” option after all dependencies are cached.
2. Crowbar Installation
In this step you choose how you will install Crowbar on machines.
DELL Crowbar needs one machine for an admin node and several machines for working nodes.
KVM is used for virtualization in case there is only one physical machine for testing purposes only.
For KVM virtualization one should define interfaces in the following way:
# The loopback network interface
auto lo
iface lo inet loopback

# The primary network interface
auto eth0
iface eth0 inet manual
        up ifconfig $IFACE 0.0.0.0 up
        up ifconfig $IFACE promisc

auto eth1
iface eth1 inet manual
        up ifconfig $IFACE 0.0.0.0 up
        up ifconfig $IFACE promisc

auto br0
iface br0 inet dhcp
        bridge_ports eth0
        bridge_fd 9
        bridge_hello 2
        bridge_maxage 12
        bridge_stp off
The test_framework which is a part of Crowbar is used to deploy nodes on KVM. Run the command below to automatically create admin VM and several node VMs:
cd ~/crowbar
./test_framework/test_crowbar.sh single cassandra pause develop-mode use-iso crowbar-v1.3-openstack-78-g82f8aaf-dev.iso
Your ISO file name could be different, the command “./build_crowbar.sh ubuntu-12.04 —update-cache” ran previously will show you the exact name.
Otherwise, if you intend to install Crowbar on the pool of physical machines take a look at this article.
3. Cassandra Installation
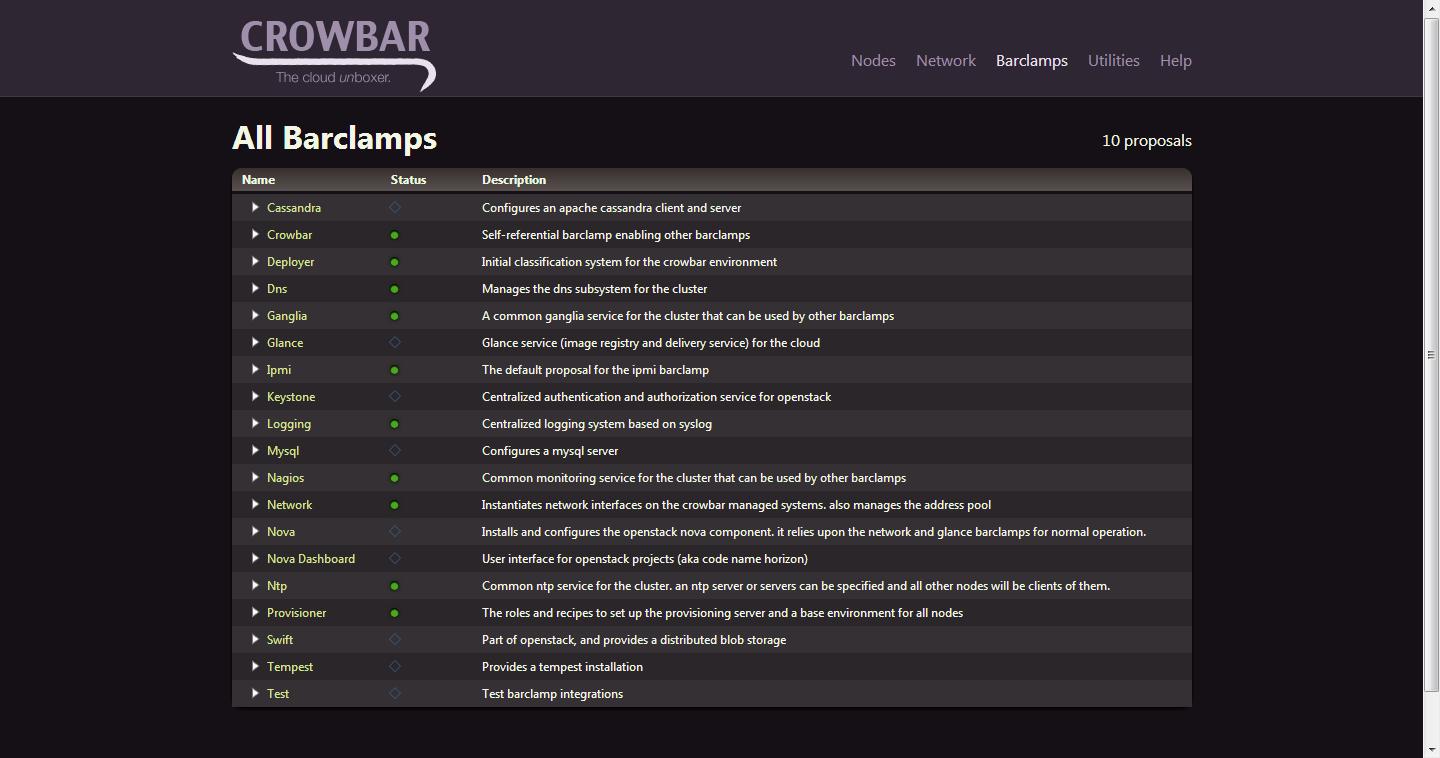
If the previous steps have been successfully performed barclamp-cassandra is available in your admin node. Select Cassandra from the list of barclamps below:
On clicking the link “Cassandra” you will see a new proposal creation form where you can change the name of a new proposal.
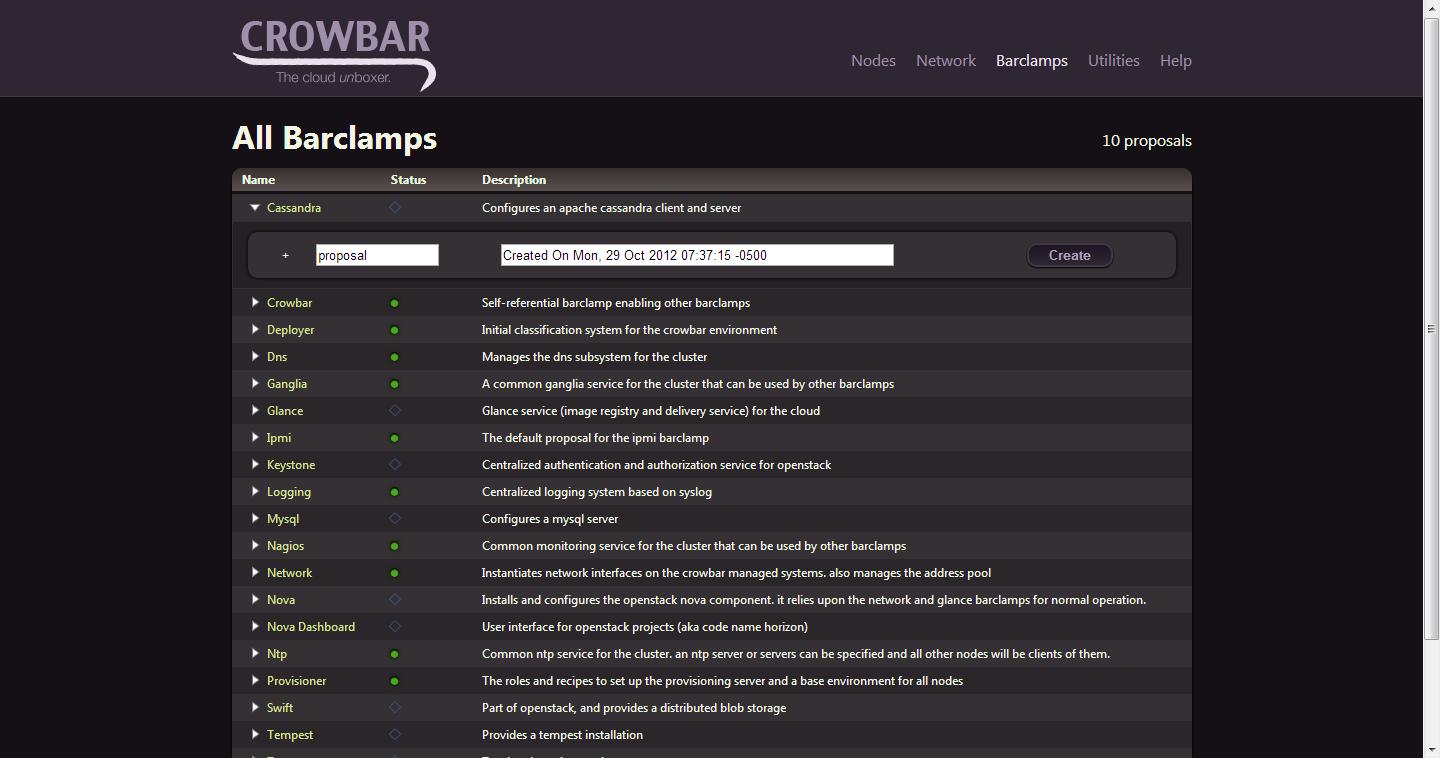
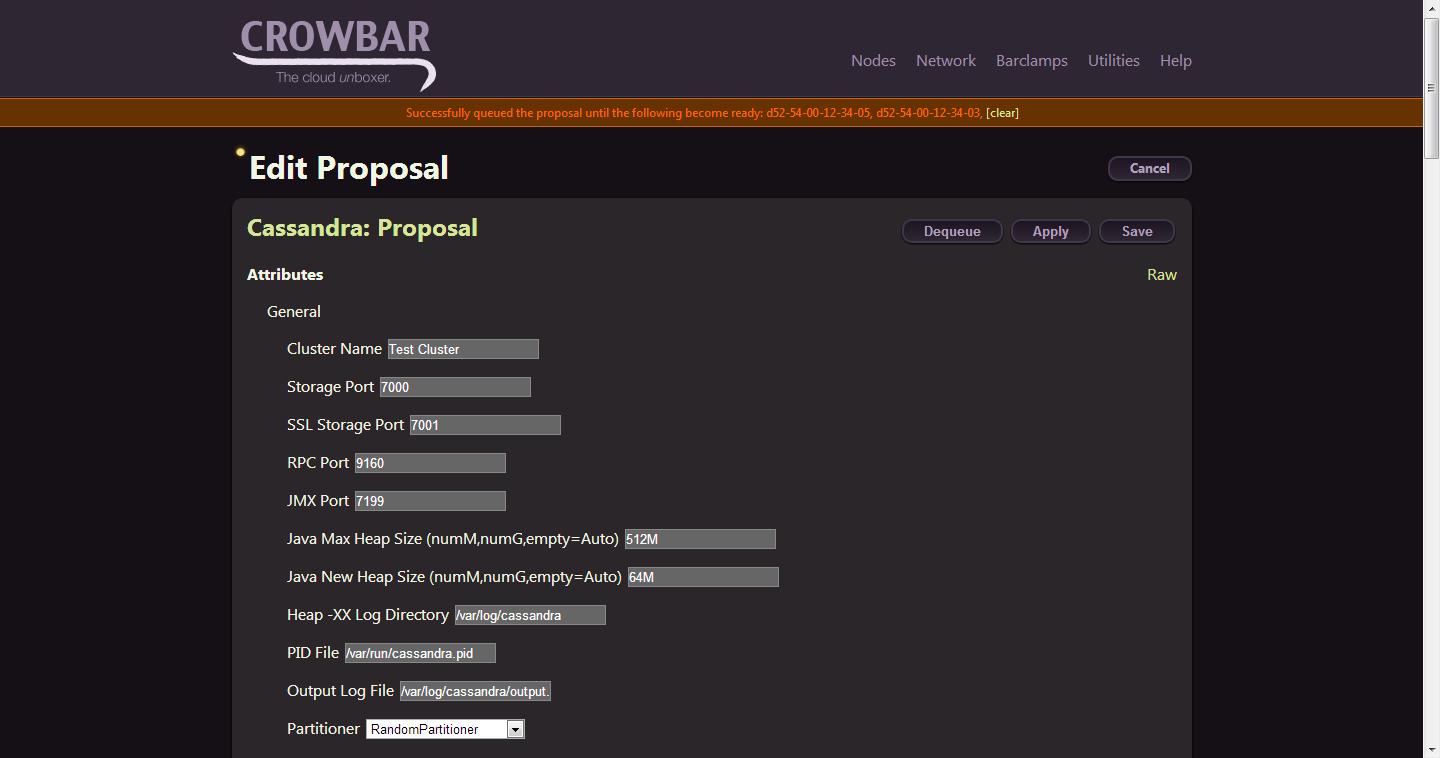
On clicking the button “Create” you will see the page with proposal’s editing settings.
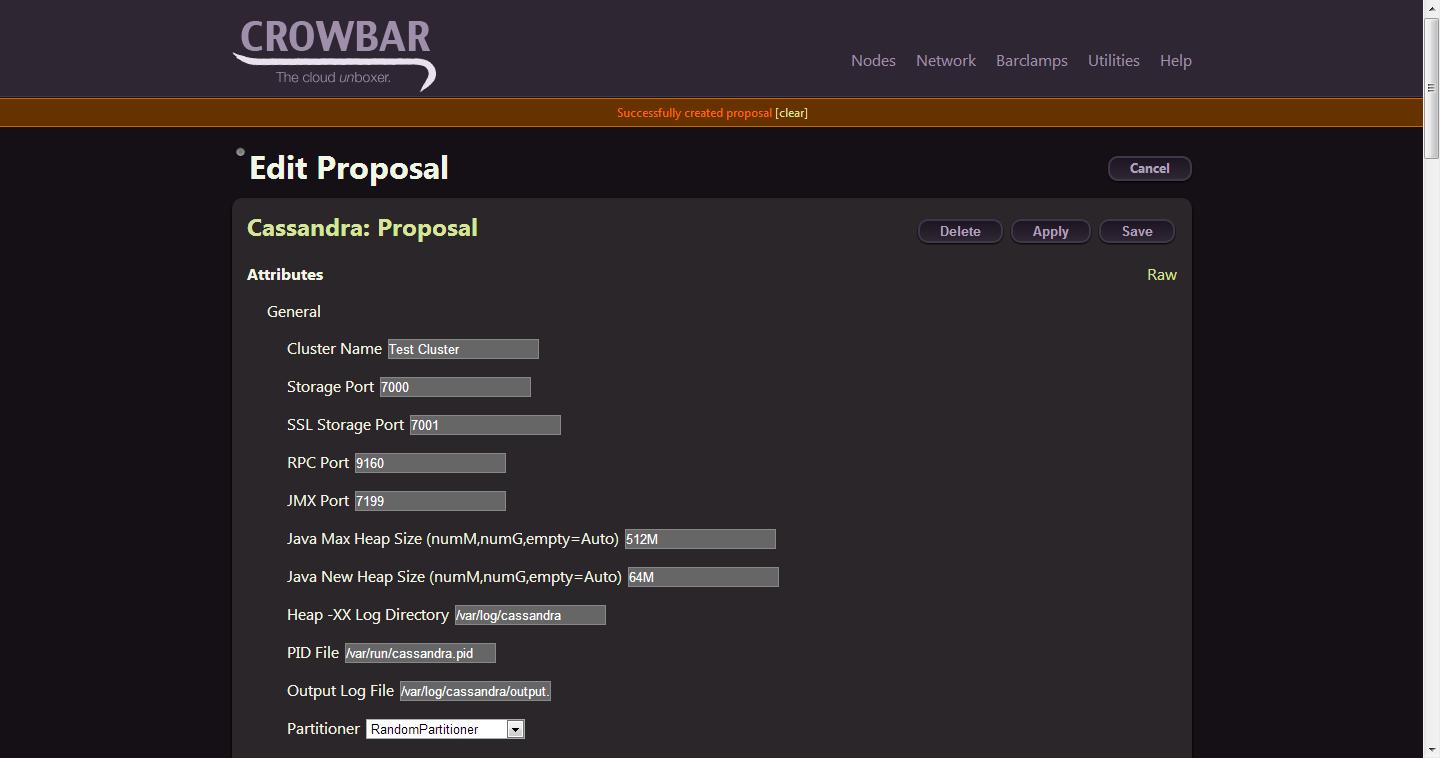
The most important setting is “Cluster Name”. By default it has “Test Cluster” value which is better to be changed initially (in the proposal creation step). Cluster Name is used by nodes to join together into a cluster. Additionally Cassandra creates persistent directories with Cluster Name mark. If you change Cluster Name later, barclamp Cassandra will erase data directories associated with the previous Cluster Name to avoid data version conflicts. You can change data directories paths to keep data for the previous Cluster Name while editing the proposal.
Other important settings are: - Storage Port; - SSL Storage Port; - RPC Port; - JMX Port.
All those settings are important for port customization. Cassandra uses admin interface for binding Storage Port and SSL Storage Port up. By default admin interface for Crowbar is 192.168.124.0. Cassandra nodes communicate with each other by this interface in the cluster. Otherwise, RPC and JMX Ports have to be accessible from other networks, and Cassandra uses 0.0.0.0 address assignable to all interfaces to bind them up. RPC Port is used by Thrift external programs and JMX Port is used by monitoring tools.
Data directories are used to place Cassandra data files to different HDD drives if needed: - Saved Caches Directory; - Commitlog Directory; - Data File Directories.
The last setting “Data File Directories” can have comma separated directories.
You can change rest settings to customize Cassandra for your needs.
At the end of the proposal’s edit page we need to select machines where Cassandra instances are to be installed.
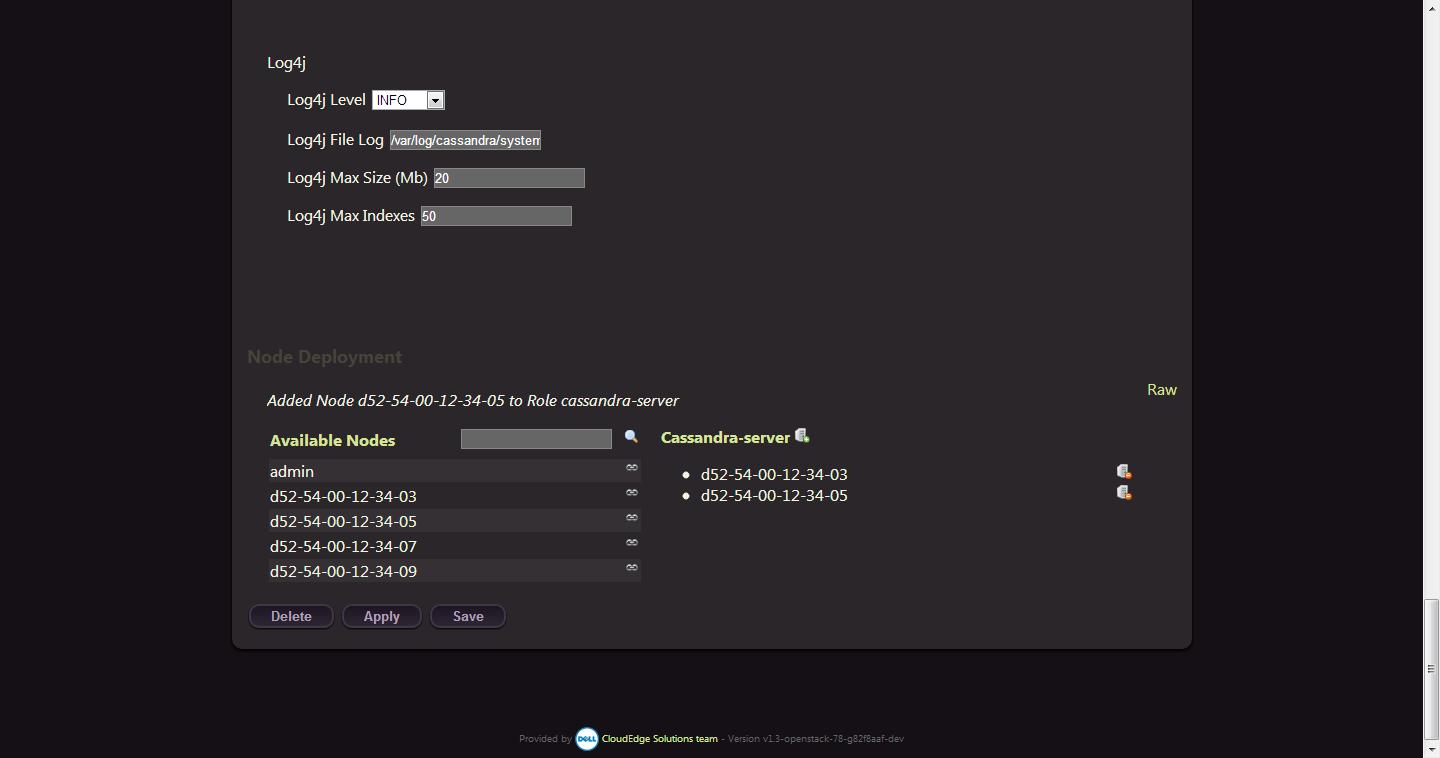
This is a drag-n-drop interface and we can use mouse to add/remove machines for the role ‘cassandra-server’.
Finally we click “Apply” button and see a success message.
Thus, Cassandra is installed by means of Crowbar.
4. Cassandra validation
After Cassandra installation you can go to the first machine where Cassandra has been installed and run:
nodetool ringThis command will show you Cassandra’s ring of all nodes. The initial_tokens are calculated via the following Ruby program used in barclamp-cassandra:
#!/usr/bin/env ruby

if ARGV.size >= 1 then
    num=ARGV[0].to_i
else
    print "How many nodes are in your cluster? "
    num = gets.to_i
end

exit if num == 0

(0..num).each do |i|
    t = i * (2**127) / num
    print "token " + i.to_s + ": " + t.to_s + "\n"
end
If you add new nodes while editing proposal barclamp-cassandra will recalculate initial_tokens only in case of new Cluster Name. In other cases barclamp-cassandra will use empty initial_tokens and initialize them from persistent data in directories. New instances will take place in the ring in accordance with Cassandra’s algorithm.
If you change Cluster Name by editing proposal make sure barclamp-cassandra removes all data in directories “Saved Caches Directory, Commitlog Directory, Data File Directories” by using command
“rm -rf *” in order to have some clear space for the new cluster.